When it comes to building a fence, there are many aspects to consider. One of the most important is that of the fence post holes. The depth, diameter and placement of these holes can make all the difference when it comes to how strong, secure and durable your fence is going to be. Having knowledge on how deep and wide the post holes should be can save time, money and energy in the long run.
First off, let’s talk about what these post holes actually do. When you dig your postholes, you want them to be at least two feet deep so they will support your posts well into the ground as opposed to just sitting on top of it. This helps them remain stable for years to come even in extreme weather conditions like heavy snow or wind storms. Additionally, digging deeper usually means more stability since soil is less likely to get washed away from beneath the posts due to heavy rain or floods.
It’s also important that your postholes are wide enough for your posts as well as any other material you may need such as gravel or concrete mix if you decide to go with those options for additional stability. A good rule of thumb is three times as wide as the circumference of your chosen post size but this too can vary depending on what type of material you’re using and where you’re located in terms of climate and soil conditions.
Last but not least, make sure that you place your fence posts correctly depending on what type of fencing system you have chosen and how much space there is between each posthole. Depending on the kind of fencing materials used – wood panels, metal bars etc., having even intervals between each hole makes it easier for installation and improves overall stability down the line once everything else has been put together.
How Deep To Dig Fence Post Holes
When it comes to fencing, there are a few things that you need to take into consideration. One of those is the type of fencing that you will be using. Some fences, like wire fences, only need posts that are buried a few inches into the ground. Other fences, like wooden fences, need to have posts that are buried much deeper. How deep you need to bury your fence posts will depend on a few factors.
One important factor to consider is the type of soil that you have. If you have sandy soil, then you will only need to bury your posts about six inches deep. If you have clay soil, then you will need to bury your posts at least twelve inches deep. The other factor to consider is the weight of the fence. The heavier the fence, the deeper you will need to bury your posts.
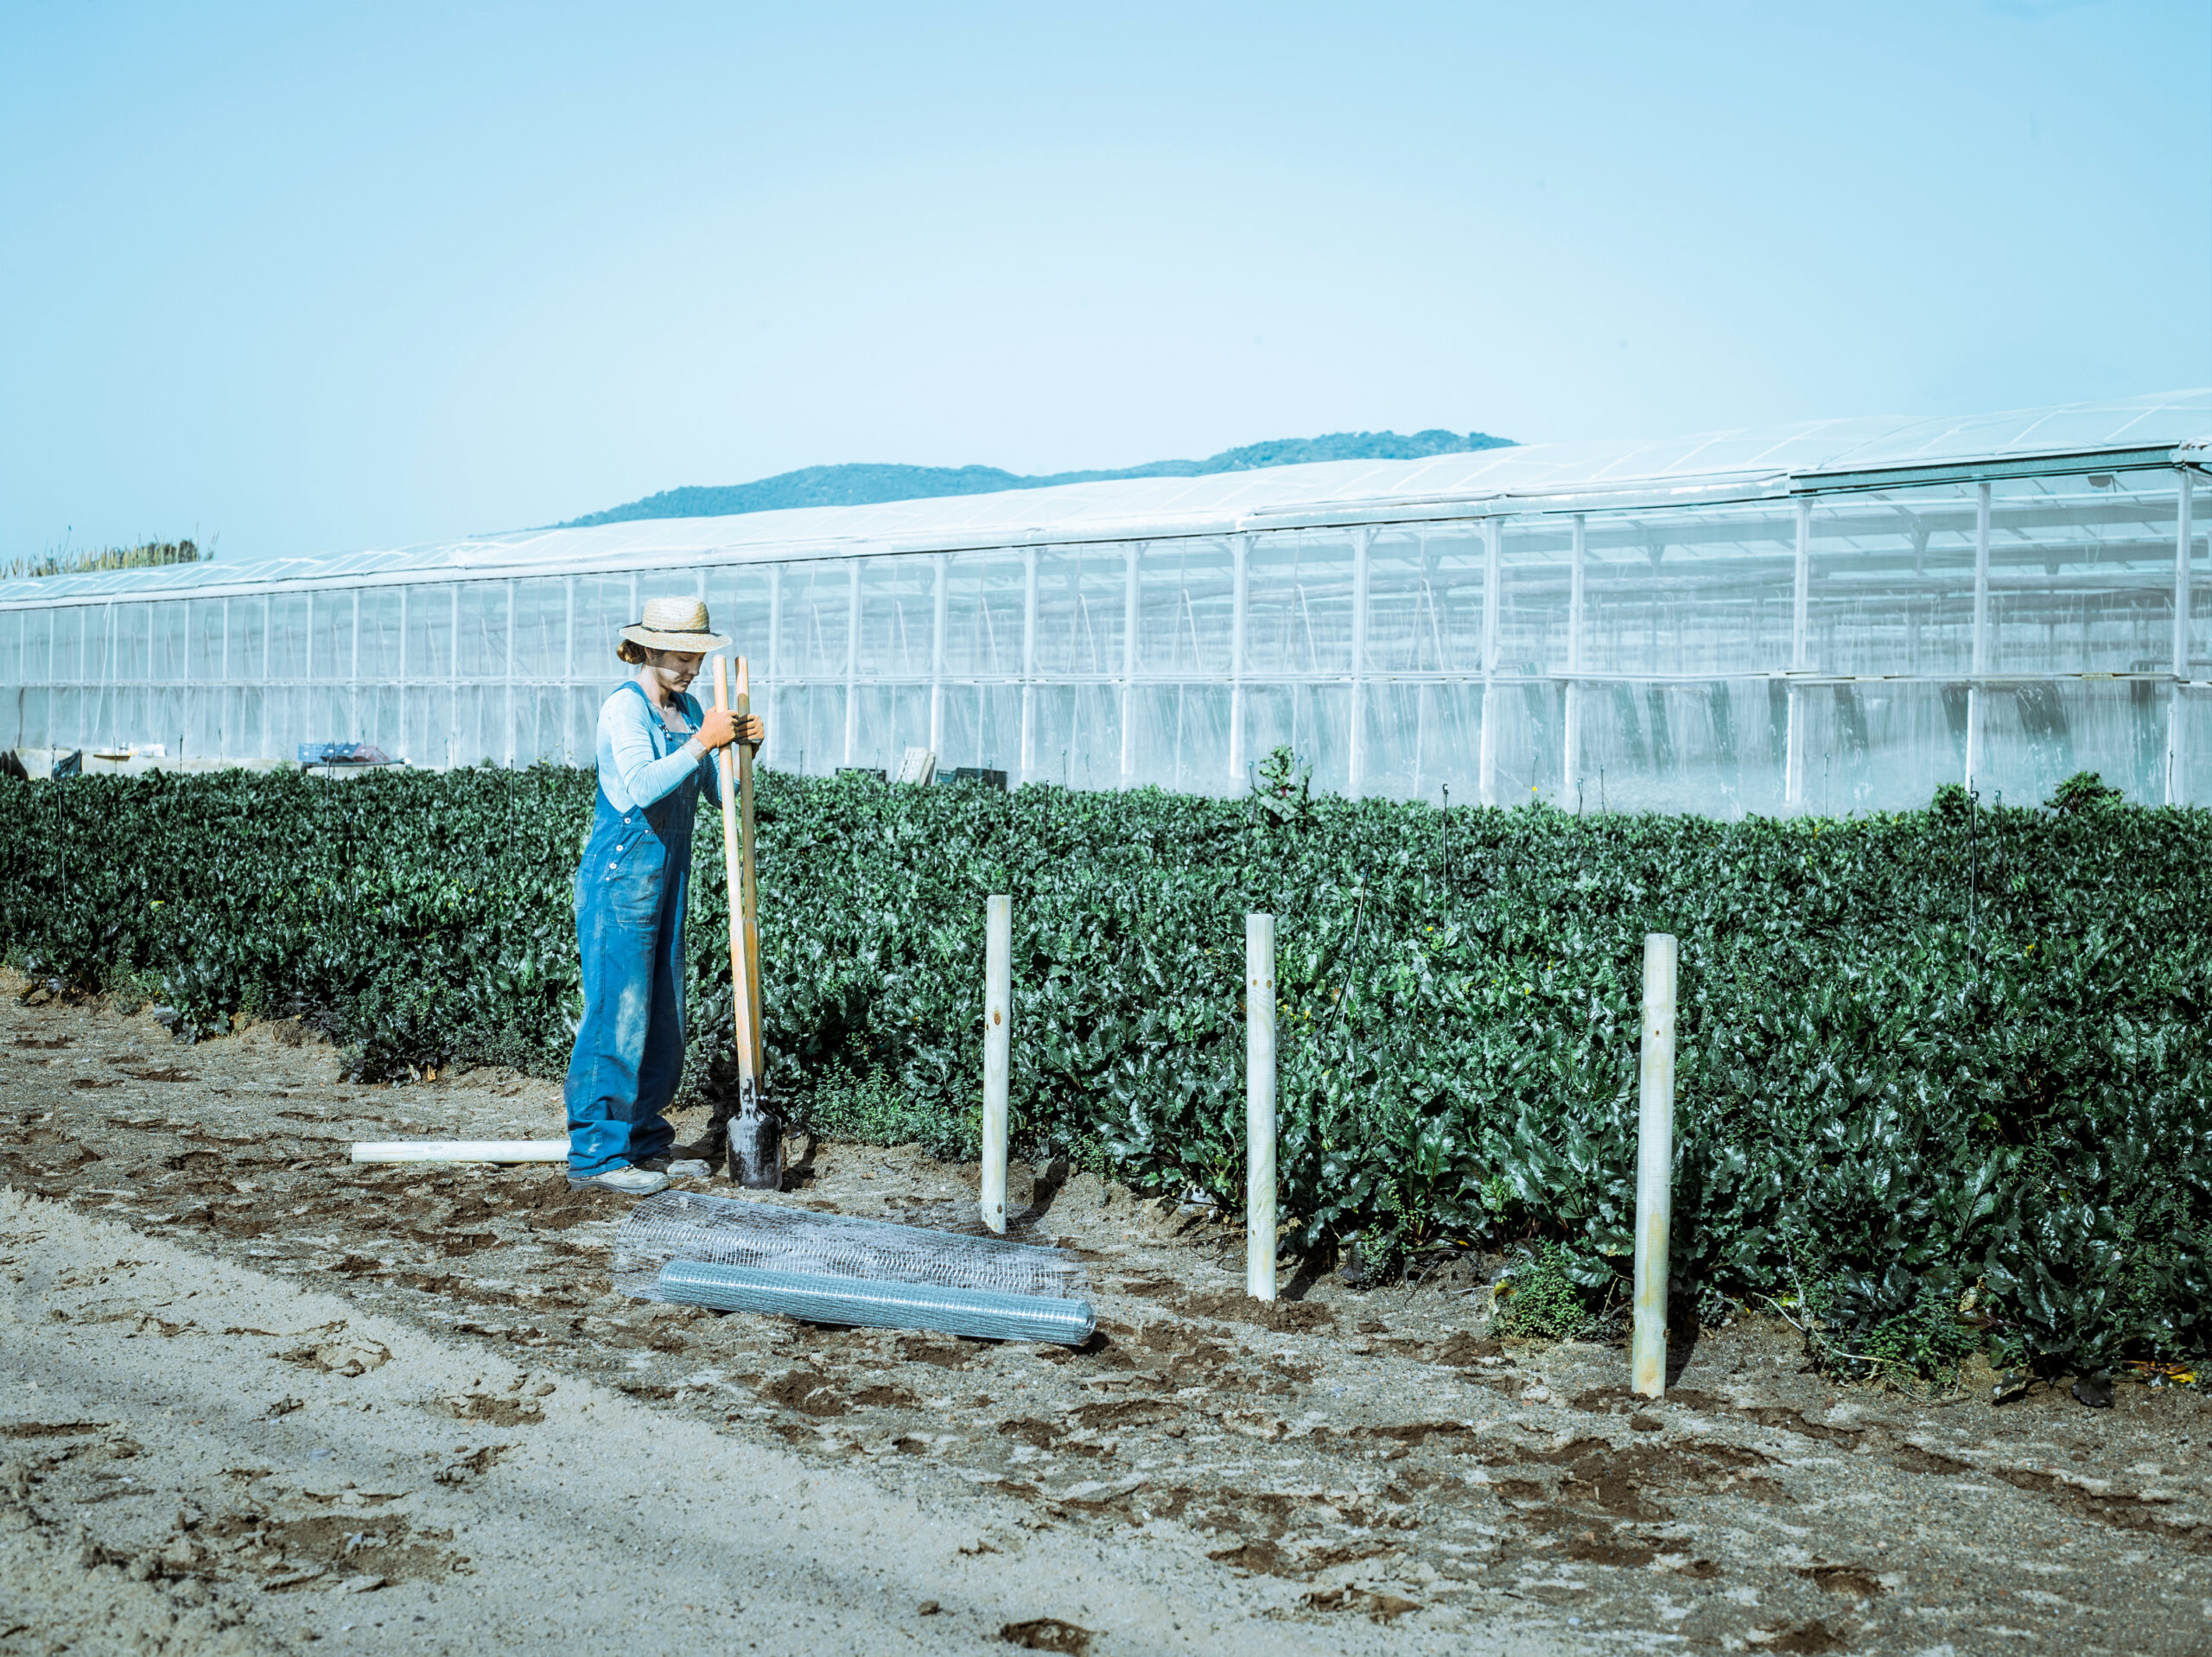
When digging your post holes, it is important to use a post hole digger. This tool will help make the job easier and ensure that your holes are dug evenly. To start, mark where your post holes will be with some sticks or rocks. Then use the post hole digger to dig your holes. Be sure to make them the correct depth and width. Once your holes are dug, set your posts in them and fill in the gaps around them with soil. Tamp down the soil well so that it is packed tightly around the posts.
How Wide To Dig Fence Post Holes
Fencing is a great way to provide privacy and protection for your home, business, or farm. But in order for the fence to do its job properly, it is important that you take the time to properly install it. This means ensuring that your post holes are of the correct size and depth. The size of a fence post hole depends on several factors, including the type of soil you have and the type of posts being used.
When it comes to figuring out how wide to dig your fence post holes, you should consider the type of soil you have as different soils require different widths. For example, if you have sandy or loamy soil, then a smaller hole may be necessary than if you were dealing with clay or hard-packed earth. Generally speaking, a hole should be at least twice as wide as the diameter of the post itself; however, when it comes to sandy or loamy soils, an even wider hole may be necessary so that there is enough room for proper drainage and air circulation around the base of the post.
In addition to considering soil type and depth requirements when deciding how wide to dig fence post holes, certain types of fences may require specific sizes depending on their purpose and design. For instance, chain link fences usually require slightly wider holes than other types due to their heavier weight and larger dimensions overall; likewise vinyl fences generally need bigger holes because their panels are taller than those typically found in wood fences. Therefore it is important that before starting any installation project that homeowners familiarize themselves with local fencing codes and regulations as well as read up on any instructions included with their fencing material so they know exactly what size holes need to be dug prior to starting construction work.
Finally another important factor when deciding how wide to dig fence post holes is choosing what kind of backfill material will go into them once they’ve been dug out and ready for filling with dirt or gravel. Concrete should always be used when installing metal or concrete posts since this will ensure maximum stability while organic materials such as dirt mixed with compost can often suffice for wooden posts since they can easily break down over time without compromising structural integrity too much; though both options should still include some kind of drainage system such as gravel at the base so that standing water does not overwhelm them eventually leading them vulnerable during heavy rainstorms or flooding events.
No matter what style or material you choose for installation purposes making sure that all fence post holes are properly measured out and filled correctly will help prevent costly repairs later down the line due to inadequate support from improper installation procedures; thus taking time now could save time later!
Helpful Tools To Dig Fence Post Holes
Digging a fence post hole is a demanding job, but with the right tools and supplies, you can get the job done quickly and safely. Whether you are setting up a new fence or replacing an old one, the following tools will make your task easier:
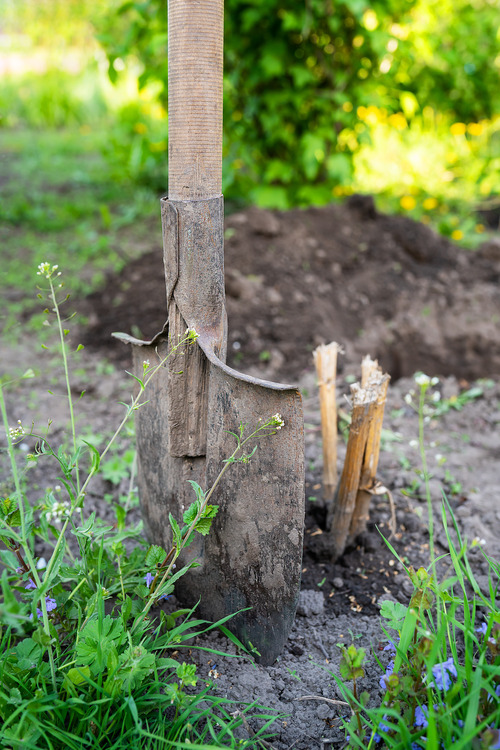
Shovel: A good shovel is essential for any fencing project. The type of shovel you need depends on the size of the post hole. For large holes, choose a heavy-duty steel shovel with a pointed blade to cut through difficult soil. A round-nose shovel is also useful for moving loose soil and rocks out of the way. Make sure your shovel has a comfortable handle that won’t slip out of your hands when digging.
Post Hole Digger: If you’re dealing with hard packed dirt or rocky soil, then a post hole digger is an invaluable tool that will make the job much easier. Designed specifically for digging deep holes in tight spaces, these devices feature two long handles with sharp blades at their ends that dig into soil as you pull them apart. They come in various sizes to fit different types of posts and can save you hours of manual digging labor.
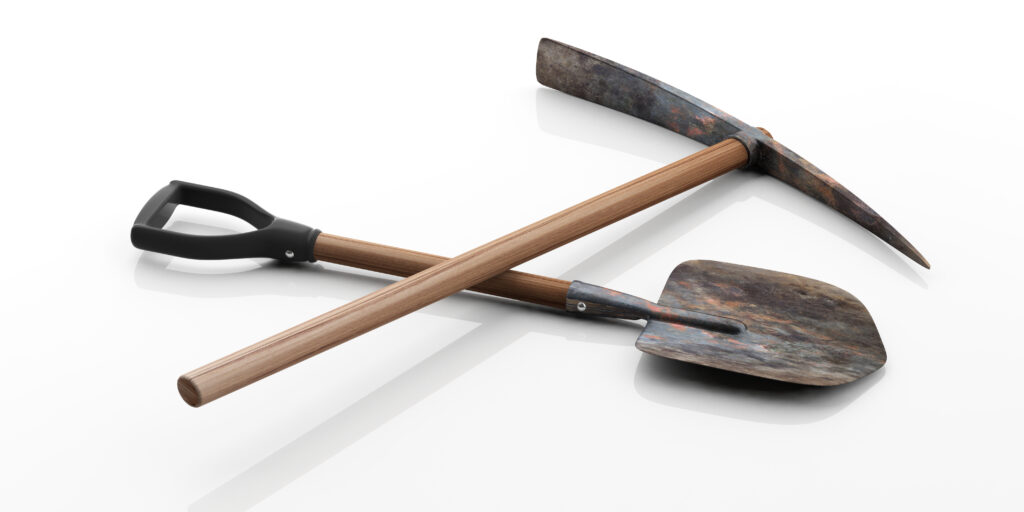
Pickaxe: If your fence post hole requires extra digging power, then reach for a pickaxe. These heavy-duty tools have been used by miners and builders since ancient times to break up tough rock formations and break through thick soils filled with roots and stones into the desired shape and depth. Make sure to use proper safety gear (gloves, goggles, etc.) when wielding this powerful tool!
Auger Bit: An auger bit is another handy tool that makes trenching work much easier. It consists of long cylindrical blades attached to an electric drill that spins rapidly as it cuts through soil with ease. With its ability to bore through even tough clay soils at great speed, it’s an ideal choice for larger projects such as creating wide postholes for fences or planting trees in hard terrain.
Handsaw: If there are tree roots in your path while digging out your fence post hole, then reaching for a handsaw may be necessary – especially if it is too thick to cut through with a pickaxe or auger bit alone. Make sure it has plenty of sharp teeth so it can quickly saw through any obstacles without jamming up or dulling too quickly during continuous use over time.
In addition to these tools, consider using some specialized supplies such as gravel bags or retaining wall blocks – both can help support and stabilize wooden posts while they set in concrete footings underground over time without sinking down further into the earth due to water pressure or shifting soils beneath their weight. And don’t forget safety gear; quality gloves, boots and goggles are all important items that should always be worn while working around heavy machinery and other potentially hazardous materials associated with backyard excavation projects like this one!

How to Dig a Fence Hole
Installing a fence can be an excellent way to enhance the look and feel of your outdoor space, while also providing security and privacy. However, before you install your fence, you will need to dig a fence hole. While it may seem intimidating at first, digging a fence hole is actually quite a simple process if you follow the right steps. This guide will walk you through everything you need to know about how to properly dig a fence hole.
Preparing Your Tools
Before starting any project, it is important that you have the right tools for the job. When it comes to digging a fence hole, there are several tools that can make the job much easier. A spade or shovel is essential for digging into the ground, while post-hole digs and clamps can help move soil more easily. You should also consider getting angled garden hose fittings and/or PVC pipe so that you can insert them into the ground along with your posts for extra stability. Finally, make sure you have some kind of protective gear like gloves and goggles in case there are any sharp objects in the soil that could hurt you as you dig.
Choosing The Right Location
Once you have gathered all your necessary tools, it’s time to choose where exactly in your yard or property you want to put your fence posts. Make sure to pick spots that are level and free of debris like large rocks or roots so that your posts will sit securely in their holes. Also keep in mind any local zoning regulations or other restrictions when picking out where exactly on your property line each post should reside.
Digging The Holes
Now that you’ve prepared all the necessary tools and chosen where each post will go, it’s finally time to start digging! Start by using your spade or shovel to create an initial circular shape then use post-hole diggers and clamps (if applicable) to finish creating each individual hole until they are at least 2 feet deep (depending on how tall your fence is). If possible try not to disturb any existing plants or trees as this could cause damage during installation later on down the line. As previously mentioned, angled garden hose fittings or PVC pipes can be inserted into each hole for extra stability before filling them back up with soil from nearby piles if needed be sure not to overfill as this can cause problems with fitting the posts later on down the line.
Finishing Up
Once all of your holes have been dug and filled back up with soil again its time for the final step: fitting your posts! It may take some patience but eventually each post should fit snugly into its respective hole without any wiggle room whatsoever; once they do fit properly secure them with concrete mix so they stay secure over time before adding any additional details such as panels or landscaping around them if desired after everything is finished pat yourself on back—you just installed a new fence from scratch!