Building a proper fence or garden gate that won’t sag or droop is a little more challenging than most realize.
This is, after all, the reason that it’s not uncommon to see older homes with garden and fence gates that look a little sad and a little sloppy.
It doesn’t take much (a little bit of time, little wind and a little weather) to cause gates to droop – and if left unaddressed they can come apart at the seams faster than you would have thought possible.
Luckily, though, a little bit of foresight and a bit of planning can help anyone build a better fence gate that is as “sag proof” as it gets. Here’s a quick guide designed to help eliminate these sagging gate issues once and for all!
What Causes Fence Gates to Sag?
As mentioned a moment ago, there are a couple of different contributing factors that can cause fence gates to sag.
All outdoor structures and furniture are going to be subjected to whatever harsh weather conditions occur. Heat, humidity, wind and weather are all going to do a number on even the best built fences and gates.
At the same time, though, square and rectangular framed structures (fence gates in a nutshell) are always going to be subjected to gravity – the natural force that pulls these frames “out of whack”.
It doesn’t take much (or very long) for gates that aren’t really well-designed to start being pulled apart, twisted, and torqued into the kind of tension that inevitably causes them to sag and droop.
You usually start to see this on the “free side” – the side without hinges, the side supporting most of its weight all on its own. That’s also the side of the fence gate that’s usually subjected to the most trauma as it gets slammed shut over and over again.
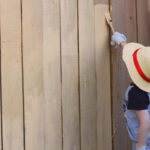
Add into the mix people that like to lean on this side of the fence gate (including little kids that like to swing back and forth on them – we’ve all done it) and it’s not hard to see why gates start to sag over time.
Thankfully, though, there are ways to prevent this drooping from happening. And many of the strategies are whole lot easier to use and implement than you might have thought before!

Building a Fence That Won’t Sag 101
Ignore the principles we highlight below and you’ll end up with a fence or garden gate that falls apart in five years or less.
Use these principles to design and build a proper garden fence, though, and you’ll have a fence that lasts a lifetime (and then some) without a whole lot of attention, maintenance, or babysitting necessary.
Let’s get right into it, shall we?
Choose the Right Materials
The first really big piece of the puzzle you want to get right when building a fence that will not sag is choosing the right material for the project at hand.
Fence materials are (generally) pretty strong and pretty resilient, but you want to take that to the next level when building a gate.
Remember, the gate is going to get the most “action” of this project – it’s going to be swung shut, kicked open, and bounced all over the place on a pretty much daily basis for its lifespan.
While any construction material can be converted into a fence gate project pretty easily, a few materials are better suited than others.
When you’re using wooden construction materials you’ll want to consider:
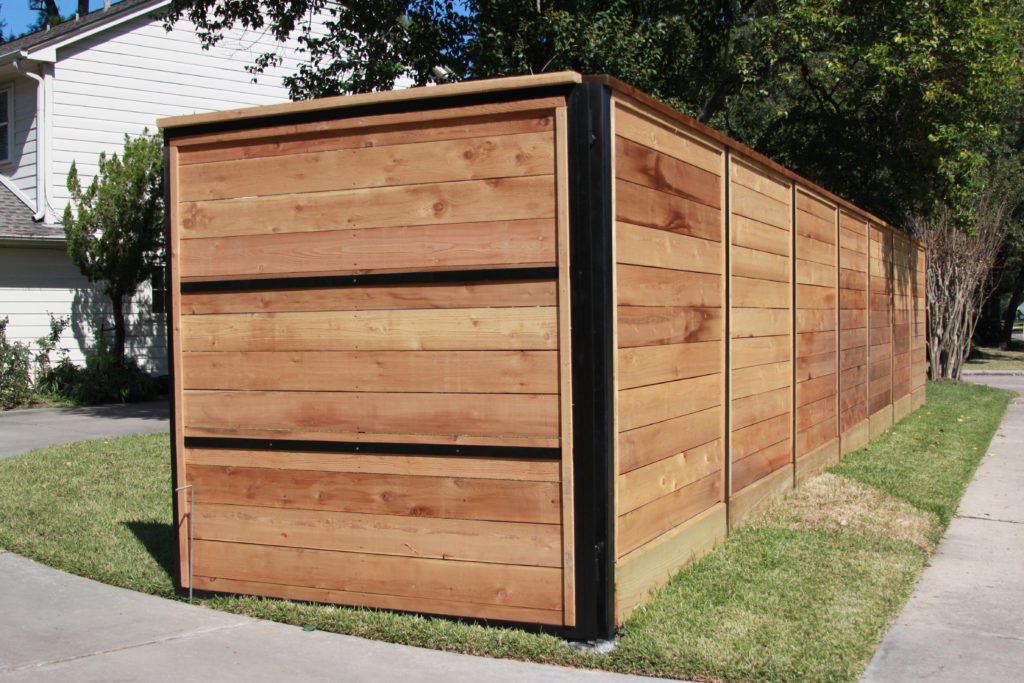
Cedar – Naturally moisture and rot resistant, pretty affordable (far as premium wood materials go), and also helps to fight back against bugs in the backyard
Mahogany – Pretty expensive to be sure, but capable of standing up against everything Mother Nature throws at you and then some
Teak – Also a little on the expensive side of things, but even more resistant to moisture and water (as well as rock) than cedar is. Dropdead gorgeous with a proper finish, though
Pressure Treated Pine – One of the most popular construction materials on the planet for outside jobs, pressure-treated pine is accessible, easy to work with, pretty affordable, and can be finished in a variety of ways
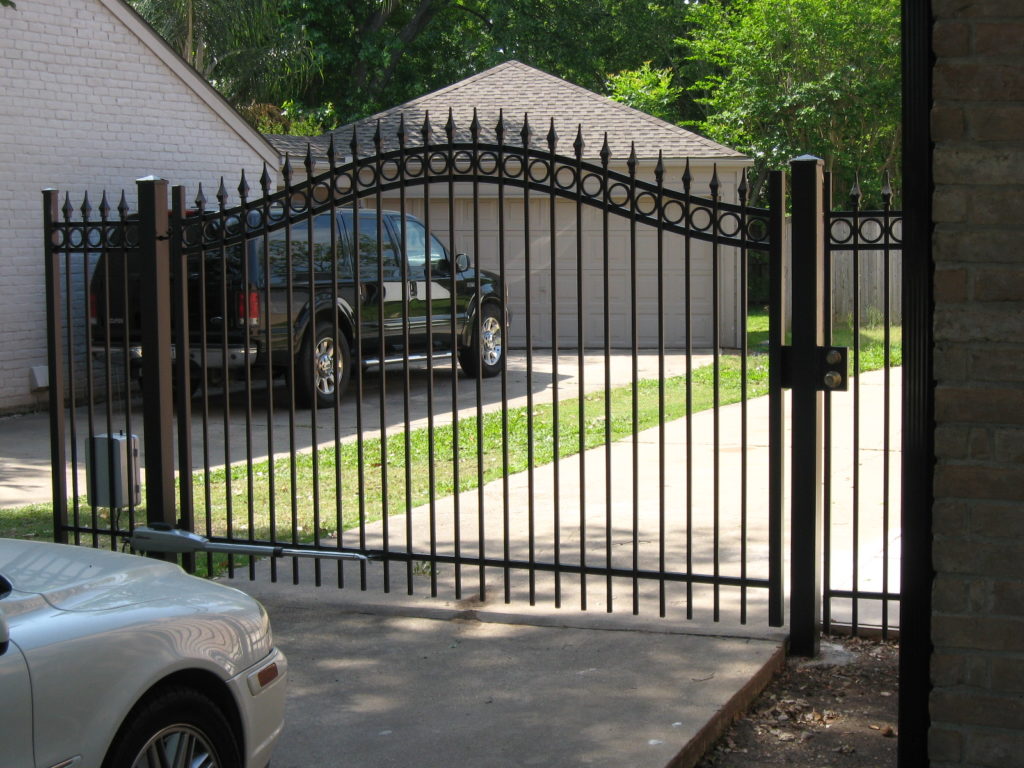
Synthetic materials (laminate wood, plastics and nylons, plastic coated wood, etc.) can also be used on a fence project. There are definitely benefits and drawbacks to using those materials, though, so you’ll want to research them pretty thoroughly.
It’s also important that you invest in:
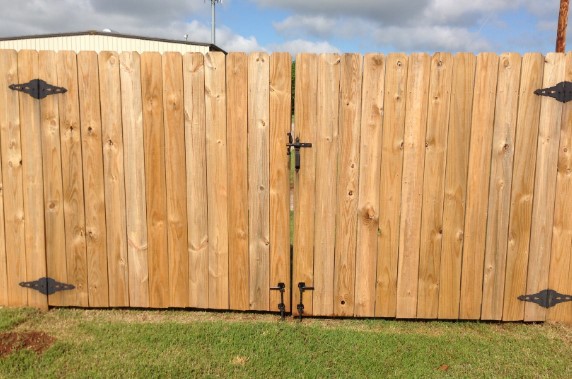
Quality Hinges – Your new fence gate is going to “live” on these hinges. They need to be strong, durable, and not only capable of hanging the entire weight of the gate but also dealing with the force of being opened and closed over and over again
Quality Concrete – Concrete bases near the posts add extra strength and stability, particularly in climates where frost is a problem during the late fall, winter, and early spring
Quality Finishes – When using wood for a fence project how that interior is going to be finished needs to be a main priority right from the start. Oil finishes, paint, and other exterior finishes can provide resiliency that protects your gate for years to come
Joinery Decisions Really Make a Difference
Anybody with even the most basic of woodworking skills can layout a simple garden gate that does the job for a little while – a square or rectangle attached to hinges that swings open and closed.
To pull off a garden or fence gate that’s going to resist gravity, stress, and harsh weather conditions and stay strong, stable, and solid for years to come is something else entirely.
That’s going to require some serious consideration about the kinds of joinery used as well as the kinds of fasteners that are taken advantage of.
Mortise and tenon joints are incredibly popular with woodworkers that want to provide a strong joint, a tight fit, and a clean look – particularly around the “fence frame”.
There’s a reason why these joints have stood the test of time, why they are so often used on fence gates, and it’s because they very effectively resist the force and pressure that causes gates to sag.
Dovetail joints are the “kid brother” of the mortise and tenon joints used in fence projects. They are little bit simpler to pull off, little easier to engineer, and generally offer similar levels of strength and durability.
No, these joints aren’t quite as fancy as a mortise and tenon. But they get the job done just the same without having to waste a lot of time and a lot of energy planning and carefully cutting those more elaborate joints.
Half lap joints are the easiest of the bunch to cut, creating a thinner yet stronger fence gate that looks fantastic. These are the kinds of joints you want to use when working with more expensive wooden construction materials as they help to showcase the wood a little better than dovetail joints ever could.
As far as fasteners are concerned, it’s important to use quality fasteners that are designed with exterior purposes in mind.
Drilling holes and hiding these fasteners can be an effective way to create a more seamless look, covering up the screw heads with tiny dowels that are cut and sanded down. But no matter the approach it’s important to use strong, durable, reliable fasteners that can stand up to the outdoor elements.
Simple Supports are a Big Piece of the Puzzle
Simple supports that run diagonally across the backside of a fence gate can practically guarantee that gate won’t sag going forward.
These diagonal supports add a bit of extra attention and compression to lock in the stability of the wood being used. Without these supports, rectangular or square fences are going to pop apart the second that they start to stress against the joints or fasteners you’ve used.
It’s important to be sure that the diagonal supports run across the entirety of the inward facing part of your gate.
Bracing that only goes through a small section of the gate (the internal gate materials) will still sag and droop over time. It needs to run from corner to corner (usually tied into the outer frame material with joints or fasteners) to add that extra stiffness and stability.
Have a look at classic garden gates or farm fence gates or inspiration.
Most of them have what looks like a wooden “X” on the back or the front of the gate. That’s not done as a design or decoration.
That’s the diagonal bracing we are talking about here, though you don’t always have to go with double diagonal cross braces to get the strength you need. Sometimes more of a “/” will get the job done – especially when you’re working with smaller gates.
When you start to get to building gates that are 3 or 4 feet wide, though, it’s time to consider thinking about using that double diagonal brace with the added supports in the middle to keep things locked into place.
Pulleys and strings can be used to support the non-hinge side of the fence when diagonal supports aren’t used. But they really clutter up the place, adding visual distractions but also over complicating a project that could be straightforward with diagonal supports implemented correctly.
Use diagonal bracing to prevent shifting whenever possible and you’ll guarantee your gate never droops going forward.
Make it a priority to inspect the bracing every year or so (replacing components as necessary) and your gate will be just as strong, just as square, and just as stiff years from now as it was the day that you built it.
It doesn’t get much better than that!
Looking to Overhaul an Already Existing Gate That’s Gotten a Bit Saggy?
We’ve gone over the important things to consider when building a gate from scratch that won’t sag, but what do you do if you already have a gate you want to save that’s become a little droopy?
To kick things off, you’re going to need to get your gate off of the fence post (usually by unscrewing or unfastening the hinges) so that you can square things back up without stress or pressure put on the components.
After squaring things up (a speed square makes this really easy to pull off), you’ll want to consider adding either diagonal bracing as mentioned above or corner brackets that sort of lock square back into place for your existing gate.
These little metal brackets go directly in the corners (all four corners) and prevent the fence from shifting or tilting in the future. They still put a lot of extra stress on the gate itself, which may compromise it sometime in the future, but the sagging problem will be resolved pretty permanently.
Turnbuckle and cable systems can also be used to straighten things out, though these are a little bit more complex as well.
At the end of the day, squaring it off, running diagonal bracing across one face of the gate (the inward facing face) is the way to go. This is an elegant solution, a cost-effective solution, and a relatively easy DIY style solution that almost anyone can implement – even on fence and garden gates that are years (not decades) old.
If things are really bad and you don’t think you can save the gate don’t be shy about rebuilding one from scratch using the tips and tricks we highlighted above.
A new gate can add a totally new look to your fence, provide extra security and peace of mind, and give you a great project that lets you put your own personal stamp on a fence that may have been built years before you purchased your property.
You can always call in the professionals to knock this project out for you, too. These experts will be able to guarantee a long-lasting, strong and stable gate that provides decades of reliable service without you having to lift a finger. That’s tough to beat, isn’t it?