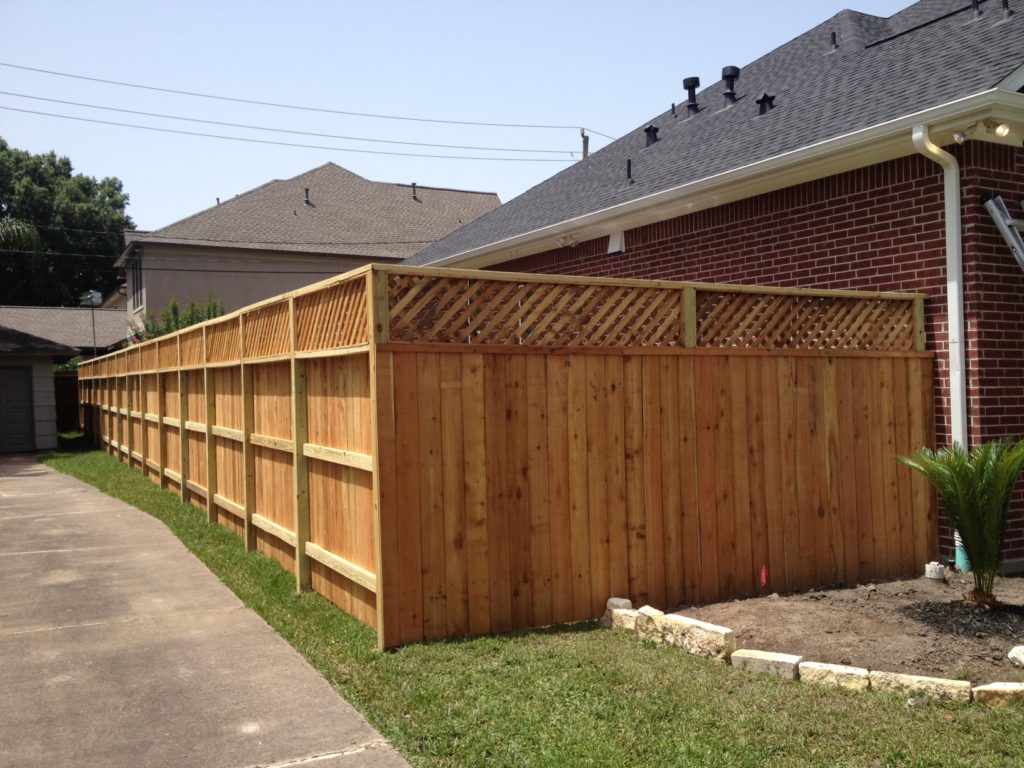
Installing a privacy fence adds to the landscape of your home while also keeping your yard hidden from public view. However, building your own privacy fence is a time-consuming and costly process, so you must do the job correctly the first time around.
The Different Types Of Privacy Fences

Wood
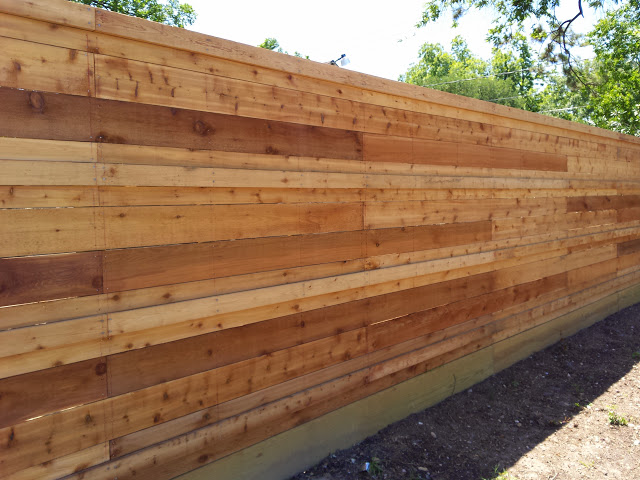
Wooden privacy fences are the most popular type of privacy fence because they are sturdy and affordable. Wood fences are also customizable with paints and stains, which makes them more appealing. One of the biggest problems that homeowners experience with wooden fences is that they are prone to rot and damage from insects. Using pressure-treated wood and maintaining a vigilant maintenance schedule can alleviate these problems.
Vinyl
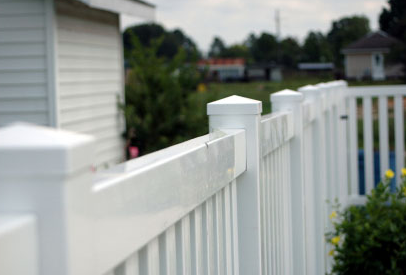
Vinyl fences (also referred to as PVC fences) are affordable and are easier to clean and maintain than wooden fences. Perhaps most appealing is that vinyl fences are much easier to install than wooden fences that require more preparation and finishing. There are a couple of drawbacks to vinyl fencing, however. Vinyl fences are much less customizable than wooden fences since they are not easily stained or painted. Vinyl fences are also less durable than harder wood fences and get easily damaged in high winds.
Non-Traditional Privacy Fence Options
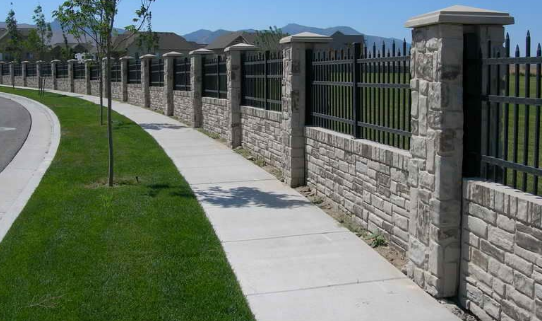
Some other less traditional privacy fence options include stone and vegetation. Stone privacy “fences” add a touch of elegance to a home, but stone is heavy to work with and is very expensive. Stone also creates more of a wall rather than a less intrusive fence. In some cases, this may not be the look that all homeowners desire.
Vegetation privacy “fences” provide privacy with limited shielding, but they have a unique decorative element and create a more natural boundary. The cost and required maintenance of a vegetation fence vary depending on the type of vegetation and its flowering pattern.
The Different Parts of Your Privacy Fence
There are multiple components to a privacy fence, including the posts, the rails, the pickets, and the panels.
The Posts
Posts are similar to the skeleton of the human body; the other components of the fence get built around them. Depending on how you build your fence, the posts may be between four and six inches thick and four to six inches wide.
The Rails
The fence rails are the horizontal slats of wood that run along the top and bottom of the fence (technically, these are set approximately six inches from the top and bottom of the fence.)
Taller fences may also have a third rail that runs along the center of the posts. Fence rails tend to be between three and four inches wide and are two inches thick.
If you build a picket-style fence, the pickets attach to these rails.
The Pickets
Pickets are the vertical wood slats that most people refer to as “the fence.” Pickets are between four and six inches wide and one-half to one inch thick.
When building a privacy fence using pickets, the pickets are placed flush next to each other or very close to each other to create a privacy screen. Different types of picket fences have bigger gaps between the pickets, but these are not useful for privacy.
The Panels
Not all privacy fences are picket fences – some fences are panel fences. Panel fences require that you purchase pre-constructed larger panels that attach to the fence posts with brackets and screwed or nailed to the rails for stability. Constructing a fence with fence panels instead of pickets makes building a fence much faster, but using pickets gives you a little more freedom over the appearance of your fence.
Privacy Fence Heights
Privacy fences are between six and eight feet tall. It is possible to build shorter fences, but these do not provide complete privacy as they can easily get looked over.

What To Know Before Building Your Privacy Fence
There are a few steps that you need to take before you begin building your privacy fence.
First, check local codes to ensure that you don’t need a license to build a fence on your property.
Second, check with your HOA. If your development is regulated by an HOA, they may have regulations that govern whether or not you can install a fence. If you can build a fence, there may be regulations that govern how tall your fence can be or what your fence can be made of.
Thirdly, be sure that you know exactly where your property boundaries are. The best way to find out where your property boundaries are is to look it up with the local county recorder or assessor’s office. You may be able to access records online.
Fourth, find out where your utility lines run! Digging to install your fence posts can cause problems if you cut into utility lines or pipes that run through your property. Not only will it cause problems for your household, but you may have to pay for repairs. In the worst-case scenario, you may even get injured or injure someone else.
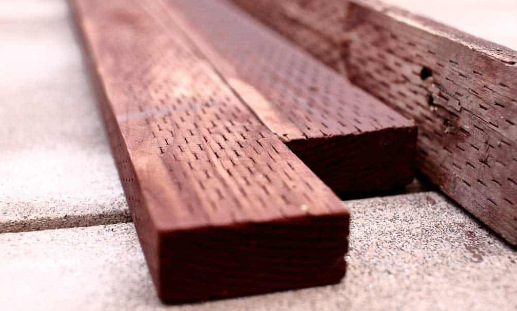
What You Need to Know About Working With Pressure-Treated Wood
When working with pressure-treated wood, there are a few things to keep in mind.
- Using pressure-treated wood requires that you use galvanized screws or stainless steel screws because they are approved for use with treated lumber.
- Be sure to wear full safety equipment when working with treated wood and wash your hands thoroughly after handling the wood.
- Treated wood must be disposed of according to local regulations because of its chemical content.
Tips to Consider When Building Your Privacy Fence
As you start building your privacy fence here are a few tips to keep in mind.
- Plan for fence gates before you start building! Know where the gate will be placed and mark the space clearly so you don’t accidentally fence over it.
- Make sure that your fence gate is wide enough! This is especially important if you will need to get a ride-on mower through to your fenced area.
- Double-check that the height of the fence suits your needs. For example, if you have a large dog that frequently jumps, a taller fence would be a better choice than a shorter one!
- Consider including a removable fence panel in your fence design in case you need to move large items into or out of your fenced area. For example, children’s playhouses or jungle gyms, or a big soil delivery.
- Check-in with your neighbors before you get to work and let them know that you are adding a fence to your property. In most cases, you do not have to seek their permission, but it is the polite thing to do to notify them of your project.
- Make sure that you have the correct tools on hand to install your fence – don’t improvise! The proper tools are necessary to ensure that the resulting fence is straight and sturdy!
Getting Started Building Your Privacy Fence
First Plan Your Fence on Paper
When planning your privacy fence, it’s a good idea to plan your project out on paper before you get to work.
Pre-planning can help to
- Avoid needless errors.
- Help to better estimate the number of supplies the job will require and keep down your costs.
- Determine any potential problems before they arise.
- Get a feel for what your property will look like enclosed by your new fence.
- Make changes to your design before wasting materials building a fence only to realize that you’re not happy with the design mid-project.
If you are looking for ideas for your new fence, there are many plans available for free online. These plans often include shopping lists that make it easy to pick up any supplies you need.
Mark Your Property Boundaries
The first step in putting up your privacy fence is to mark your property boundaries. Marking out your boundaries is necessary so that you don’t stray into your neighbor’s yard while building. If you do end up on your neighbor’s land, they may make a complaint and ask that you take down the fence.
As you build your fence, be sure to set it back slightly from the property line.
Lay Out Your Fence
With the property boundary marked, you now want to layout your fence using wooden stakes and string.
Place a wooden stake where each corner of your fence will be. Now take your string and wrap it around one stake and run it tightly to the second. The string represents where your fence will be. Continue to run the string to each stake until your fence is replicated completely.
Next, you will need to mark the post points of your fence. Fence posts are traditionally between six and eight feet apart. Begin at one of the corner stakes and measure out to one post (either six or eight feet.) Mark the post point using spray paint or another stake.
Mark out each post point around the perimeter of your fence in this way.
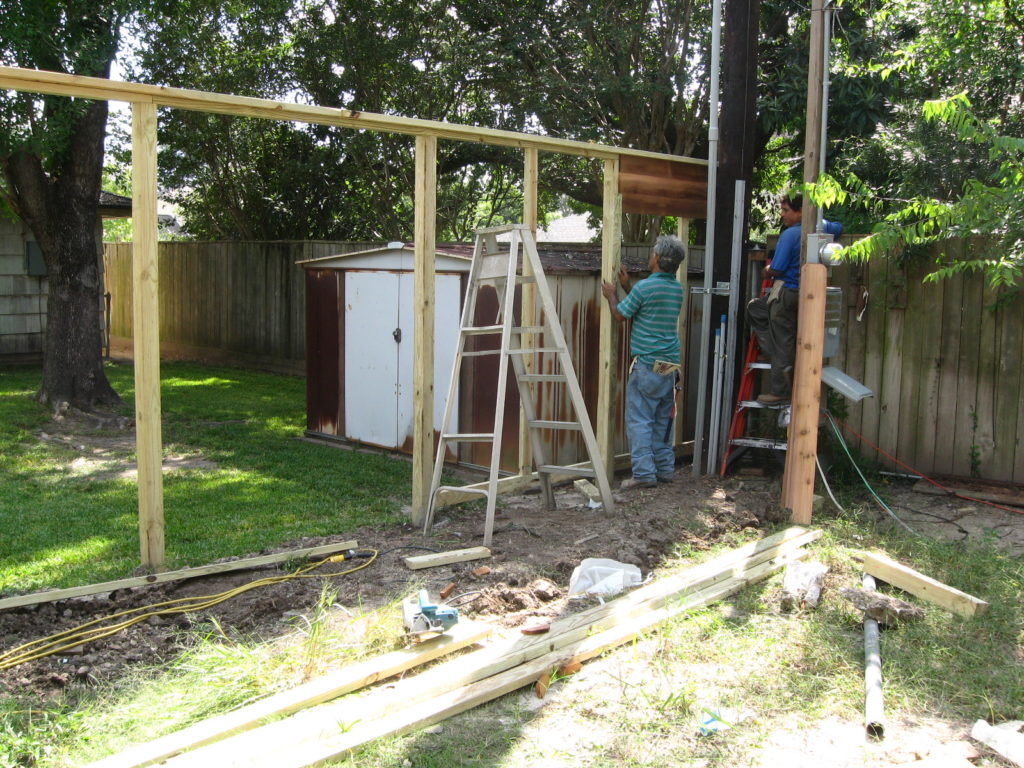
Install Your Posts
Use a post hole digger to dig a hole at each post point. Cut the hole to around a third of the height of the post plus six inches in depth and three times the width of the post.
Add six inches of gravel to the bottom of each post hole. The gravel will provide drainage.
Set each post in the center of a post hole and brace the post using stakes making sure that all of the posts are aligned. Pour concrete around the post, filling the hole up to six inches from the top.
Leave the concrete to dry completely.
Install Your Rails
Once the concrete is set, it’s time to install the fence rails.
The length of each fence rail should run from the center of one post to the center of the second post.
Where you install your rails depends on the height of your fence, but most often, the top rail is placed six inches from the top of the post and the bottom rail is placed six inches from the bottom of the post.
If you have a taller fence, a third rail should be added halfway between the top and bottom post for stability.
Use two fasteners for each rail as you attach it to the posts.
Install Your Pickets Or Panels
If building a picket fence, begin at the corner of the fence and use two fasteners to attach the picket to the post making sure that the picket is level.
Use a string to mark the point of attachment of the picket and run the string to the next post. This string will help to keep the pickets level as you attach them.
Attach the rest of your pickets to the posts. If you want to add a gap between the pickets, cut a small piece of wood the size of the gap and use it as a template as you attach each picket.
If using fence panels, attach the panel between two posts by attaching it at the center point of each post.
Finishing Your Fence
If you built your fence using pretreated wood, you do not need to treat the wood again, but you may want to apply a stain or paint the fence.
If you used wood that was not pretreated, you will need to treat the wood using a waterproof sealer. The best way to do this is to purchase a stain or paint that incorporates a weatherproof treatment.
Depending on the stain or paint that you used on your fence, you may need to apply a second or third coat. Follow the instructions on the paint or stain you purchased.
Maintaining Your Privacy Fence
To keep your new fence looking great, regularly clean the surface of the wood, and every year or two as needed, apply a new coat of paint or stain after thoroughly cleaning the fence.
Properly preparing and finishing your fence is the key to keeping it looking healthy for years to come.