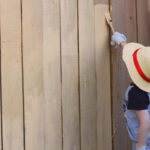
Fixing a broken fence post requires careful preparation and planning. To get started, you’ll need to assess the damage. If the post looks like it’s cracked or chipped, but is still intact, you may be able to fix it without having to replace the entire post. You can use wood putty or wooden dowels to fill in any cracks in the wood. Apply some pressure when pushing the putty into place so that it fills the crack completely. Then, use sandpaper to make sure everything is nice and smooth before applying a sealant or paint.
If the post has broken into more than two pieces, then you’ll have to replace it with a new one—unless what remains is still sturdy enough for support. If that’s the case, you can still use wood putty as mentioned above and also some bolts and screws for additional reinforcement. Make sure that whatever hardware you choose is corrosion-resistant since outdoor elements will take their toll eventually. Drill pilot holes where appropriate before driving in any screws or bolts to prevent splitting of your repair area. Finally, seal your repair with waterproof sealant or paint as this will keep out moisture which could cause further damage down the line.
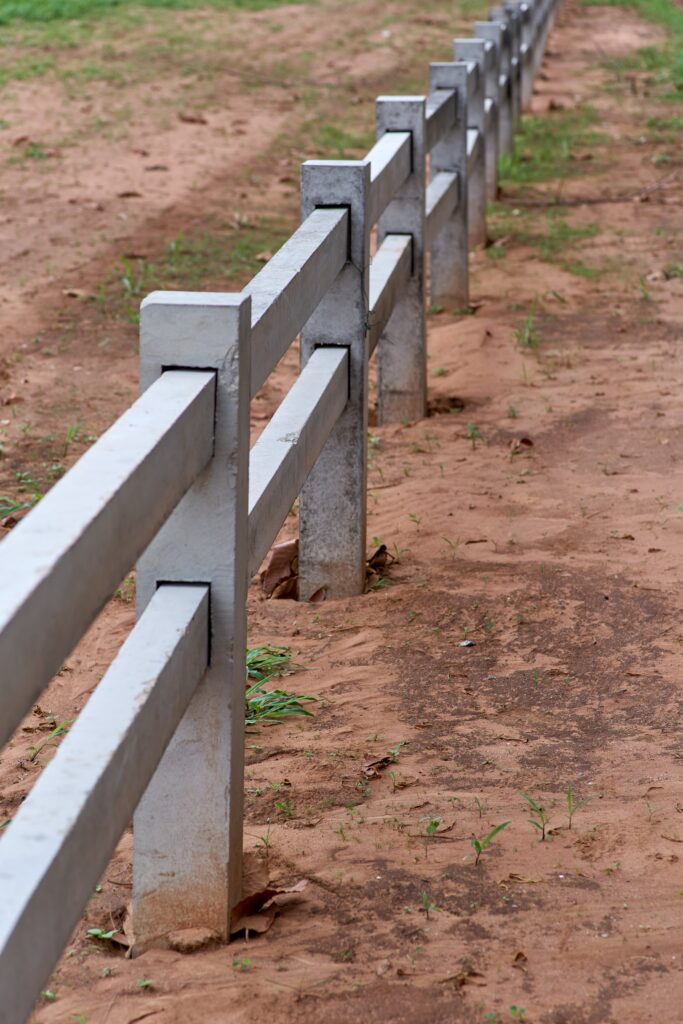
Fence posts often become damaged due to severe weather conditions such as strong winds and heavy rain which can erode soil from around them leading to instability. Other causes include rot from too much moisture sitting against wood, pests eating away at wood fibers over time, weak materials used for construction of the fence posts, age of posts resulting in wear and tear which weakens them further and finally casual neglect such as not properly inspecting posts regularly for signs of deterioration. All these factors should be taken into consideration while fixing a broken fence post so that it stays sturdy in the future as well.
Fix VS Replace
When it comes to fixing a broken fence post, you have two main options: repair or replace.
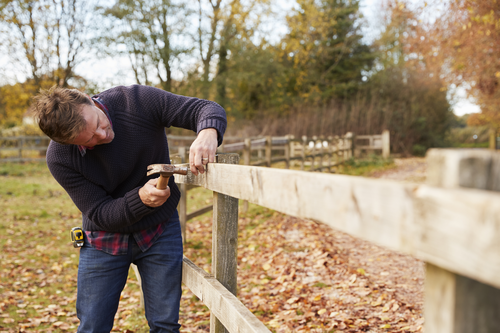
Repairing a broken fence post typically involves removing the existing post and replacing part of it. This approach is best if the post is only slightly damaged, as the posts can be reused in a new configuration. For example, if the fence post was snapped near the top, you could remove it and cut it down to make two shorter posts, then use additional braces and screws to secure them in place. Similarly, you can repair a bent or leaning fence post by cutting off its top section and driving stakes into the ground on either side of the bottom portion to provide added stability. The key with this approach is to ensure that any connections are strong enough to withstand whatever forces your fence will be subject to.
Replacing a broken or damaged fence post may be necessary when there is more extensive damage or when parts of the original post cannot be salvaged. In this case you’ll need to remove any existing posts and purchase new ones of appropriate length and diameter for your project. It’s important that the new posts are properly treated against rot before installation; otherwise they may quickly degrade due to exposure to moisture in the soil. Once you’ve got your new posts ready, you’ll need to ensure they are level before securing them into place with concrete mix or other anchors designed specifically for this purpose. Before setting each post in cement mix, make sure there is adequate drainage around each one so water won’t collect at its base and cause rot over time. Finally, make certain all connections between rails or panels are secure before completing your project.
Taking these steps can help you fix an existing broken fence post without having to completely replace it – saving time and money in the process!
Repairing A Fence Post
Replacing Concrete Base
The first step is to remove the concrete base of the old post. To do this, you’ll need a heavy-duty sledgehammer, an angle grinder with a masonry blade attachment, and safety gloves and goggles. Start by tapping around the concrete base to loosen it. Once it’s loose enough, use the grinder to cut away sections of the concrete until it’s all gone. Be sure to work slowly and carefully as you don’t want to damage any other part of your fence.
After removing all of the concrete, use a shovel to dig out around the old post until you’ve reached at least two feet below the surface. Fill this area with gravel and then level out by tamping down with a tamper or other tool. Make sure that when you’re done there’s no debris left in or around the hole as these can cause future problems when setting your new post in place.
Next, insert your new fence post into the hole and make sure it stands straight and even before securing it with support brackets and screws. When attaching these pieces, make sure that they are firmly attached so that they won’t come loose over time due to weather or wind conditions.
Finally, pour fresh concrete mix around your post making sure that all sides are securely covered for added stability. Allow for 24 hours for curing before adding back any of your existing fencing materials or accessories such as gates or panels.
Replacing The Broken Fence Post
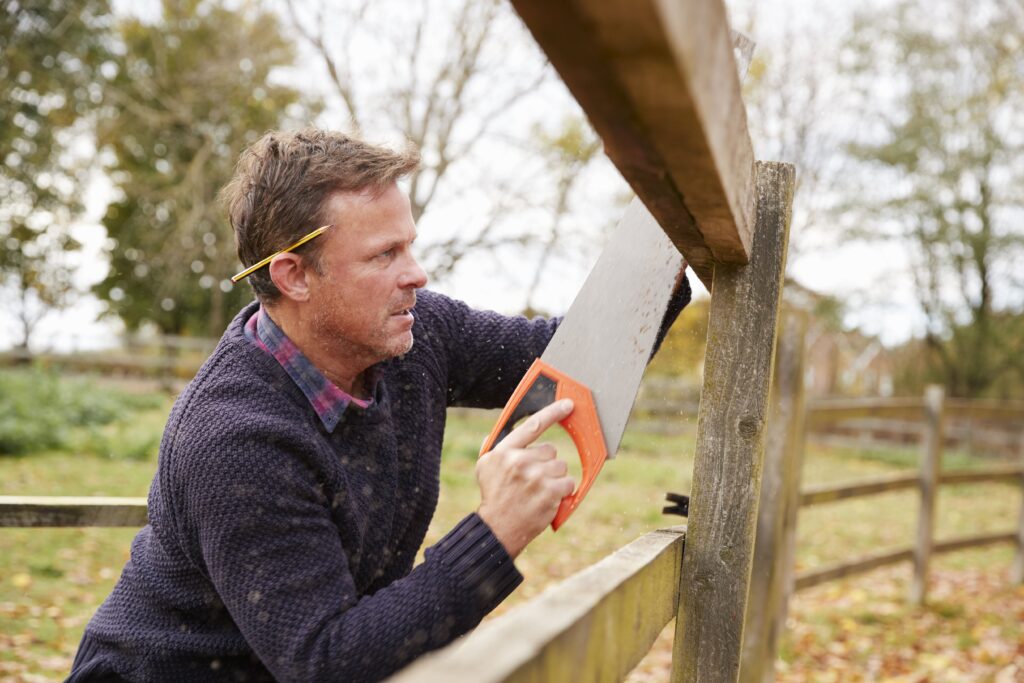
Replacing a broken fence post can be done in a few simple steps. First, you will need to remove the old post. Depending on the type of material it is made out of, you may need special tools such as pliers or a pry bar to loosen the nails or screws that hold it in place. Once loose, dig around the base of the post with a shovel to loosen and remove any dirt and grass that has accumulated around it. Once the post is free, take precautions to dispose of it in an environmentally responsible manner.
Next, measure and cut your new fence post to size, making sure that its length perfectly matches that of the old one (or slightly longer if extra support is needed). After this, clear away any debris from around where the new post will go and ensure there are no sharp objects present. Place some gravel at the bottom of the hole before inserting your new post, then fill in with soil around it until it is firmly secured in place. Pack down any excess soil with a tamper or heavy weight and add extra support as needed (e.g., additional stakes or wire mesh). If desired, use cement mix for added stability. Finally, attach any panels or boards (if applicable) to complete the job.
Laying New Concrete
First, make sure that the existing fence post is clear of any dirt and debris before beginning. Depending on the type of damage done to the post, you may need to reinforce it with a metal bracket or use wood screws to secure it in place before pouring fresh concrete around it.
You will then need to prepare the concrete mix according to the directions provided and pour it into a hole that you have dug around the fence post. The hole should be about 8 inches deep and about 1 or 2 inches wider than the circumference of your fence post. Make sure there are no air pockets left in the concrete mix before you fill in any remaining space at the top. Smooth out any unevenness in the surface as best as you can.
Once everything is set, allow time for your new concrete base to cure and harden before mounting a fence panel onto your newly-secured fence post. Allow extra drying time if necessary – this is especially important when using quick-drying cement mixes, since they tend not to be as strong as standard concrete mixtures after curing. When all else is done, simply mount your new fence panel onto your freshly-laid base so that your broken fence post can stand strong once more!
How To Repair A Gate Post
Repairing a gate post can be a tricky task to undertake, but it doesn’t have to be hard. In order to properly repair a gate post, there are several steps that you’ll need to take.
The first step is to assess the damage and determine what kind of repairs will be necessary. If the post has been cracked or broken in any way, then you’ll need to remove any remaining pieces and use replacement wood or metal parts. If the post is simply out of alignment, then you may only need to adjust it back into place with some sandpaper and a hammer.
Once you know what type of repair needs to be done, the next step is to acquire the necessary materials for the job. For larger replacements, you should use pressure-treated wood that won’t rot easily over time and can handle harsher weather conditions if necessary. Steel posts are also pretty popular since they’re more durable and corrosion-resistant than wood posts; however, they can cost more money upfront so it’s best to factor this in when deciding which material is right for your needs.
For smaller repairs like realigning the post, tools such as hammers, wrenches, screwdrivers, saws, and sandpaper are essential parts of your toolkit. Be sure that all of these items are readily available before beginning your repairs so that everything goes smoothly. It’s also important to make sure that you have protective gear such as gloves and safety glasses available for yourself as well since these types of repairs can get messy quickly and you don’t want any accidents happening either during or after the job is complete.
Once you have all your materials ready, it’s time for the actual repair work! Depending on how extensive the damage is on your gate post will determine what type of technique you’ll need to employ in order to fix it successfully. For example, if it requires replacing completely with new parts then start by measuring out where each section should go before using screws or nails to secure them into place once they’re cut correctly. If simply realigning or sanding down existing portions of the post are needed then use caution when doing so – keep an extra pair of hands nearby in case something slips away from its intended location while working! Lastly, apply paint or sealant onto all exposed surfaces after repairs are completed so that moisture won’t penetrate through any cracks or crevices left behind from previous damage.
With these tips in mind, repairing a gate post doesn’t have to be an intimidating task anymore! Just remember: measure twice and cut once; always wear protective gear; secure each part firmly with appropriate fasteners; and apply paint/sealant when finished in order ensure lasting quality results from your hard work!
Conclusion
While repairing or replacing a fence post may seem like a daunting task, it is actually quite simple. By following the proper steps and taking the necessary precautions, you can easily complete this project in a weekend. Replacing a fence post requires some level of preparation and care. It is important to consider the material of the existing post, as well as the depth and size of the new post. When using concrete to secure the new post, it is essential to use enough gravel for drainage and make sure that the post is plumbed before pouring and setting. Finally, after ensuring that all measurements are set, backfill with soil or gravel around the base for stability. This will help ensure that your newly replaced fence post will stay upright for years to come – providing a safe boundary for both you and your family. With a little elbow grease and some patience, you’ll have your fence looking as good as new in no time!